How To Install WordPress On Bluehost Hosting in 2021 – Complete Tutorial
| Listen audio version |

- Save
As a website owner, there are quite a number of reasons why you might want to show custom content to different users on your site. In some cases, many entrepreneurs choose to run different sites on different subdomains to cater to this need. While this may be the common option, WordPress users can use an even simpler approach.
The default way of creating custom content on WordPress is to restrict user access to certain pages or posts by adding a password. However, there are cases when you may want to display different versions of your website to different users based on certain criteria.
Though WordPress doesn’t offer that functionality out of the box, there are third-party tools and plugins that can help you with that. This is one of the numerous reasons why many of us like WordPress. You get so much control over your website and its content.
In this article, I’m going to show you three interesting methods of displaying custom content to different users on your WordPress site. But before we get to that, let’s consider why you may want to do that. Let’s dive into it!


Page Contents
Why You Might Want to Display Custom Content on Your Site
By default, WordPress automatically makes every content you add to your site available to all your site visitors. If you want some other visibility options, the platform also lets you either make the content private or password-protected.
While these options are useful in a large number of cases, there are times when you need more flexibility. For example, if you work in a management role in an educational setting, you may want to restrict learning materials to different categories of students.
In a different case scenario, shoppers on an online store will be more than delighted to have a personalized shopping experience when they visit your website. With the right website personalization tools, you can easily recommend certain products and benefits to your site users based on user behavior.
This will not only help them shop faster but also increase your conversion rate and customer loyalty significantly. Depending on your niche and the purpose of your website, there are several ways custom content can help you achieve your goals.
The usual approach WordPress users would take to achieve this is to create a membership site and restrict the content type available based on user roles. No doubt, this strategy can prove useful in a lot of ways.
In general, membership sites can help you develop a strong sense of community among your site users and increase your site’s engagement levels. But, it may be difficult in certain cases to convince some users to go through the registration process.
In such cases, there are smart conditions you can set in order to display custom content to different users without requiring membership. You can customize content based on location, past user behavior, traffic referrer source, etc.
Let’s take a look at the different methods of achieving this!
Method 1: Password Protect Your Pages or Posts
By default, WordPress offers some solid visibility options that you can use to regulate access to content on your site. Though the approach may not be ideal, it’s the best native alternative WordPress has to offer.
By simply changing certain document settings, you can password protect your pages or posts. This way, only site visitors with a password can view them.
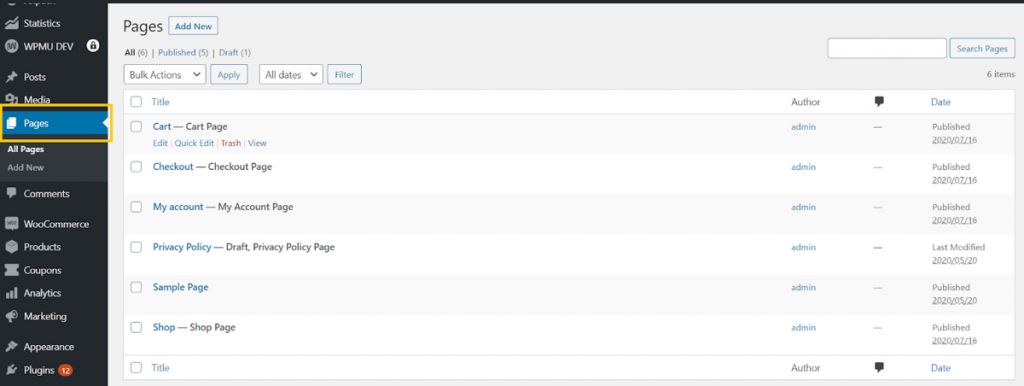
If you want to create a new page or edit an existing one, navigate to the Pages tab in your WordPress dashboard.

- Save
Here, you can create a new page by clicking on the Add New button. Otherwise, click on Edit below the page you want to password-protect.
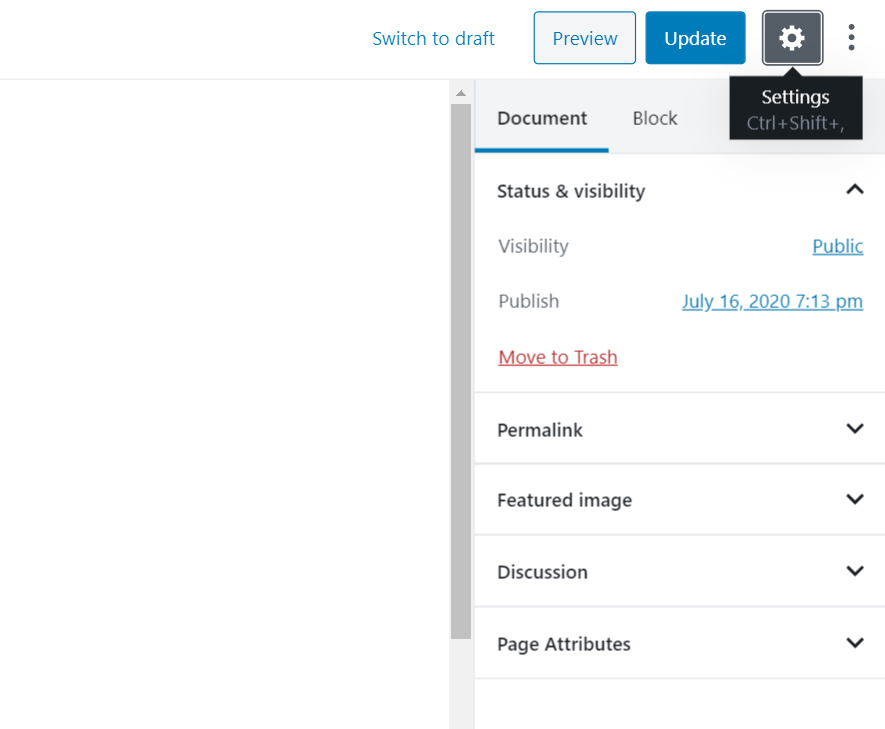
Once you’re done editing your page, navigate to Settings » Document » Visibility.

- Save
As earlier mentioned, the visibility setting of every WordPress page is set to ‘Public’ by default. To change this, click on Public and change the setting to Password Protected.


- Save
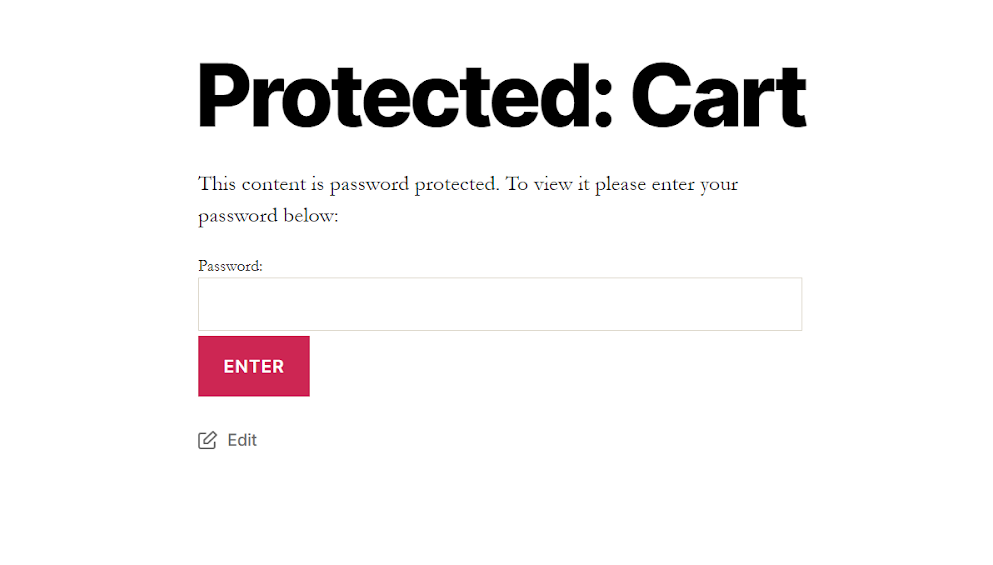
After that, you need to type in a secure password that other users can use to gain access to the page. You can see what your page now looks like to a site visitor by clicking on the Preview button.

- Save
You can also use this method to password protect your WordPress posts. However, this method is very similar to creating a membership site. Site users will still need to contact you or site administrators for a password. This is not necessarily ideal.
The second method I’ll be showing you is significantly more flexible. Using this method, you can show entirely different content or variations of the same content to your users.
Method 2: Use a WordPress Plugin
To display completely customized content to different users on your site, you’ll need a WordPress plugin. There are a couple of powerful content control plugins I’ve seen in the WordPress repository. Some of the popular options include Content Control, Restrict Content, Member Press, WP Private Content Plus, etc.
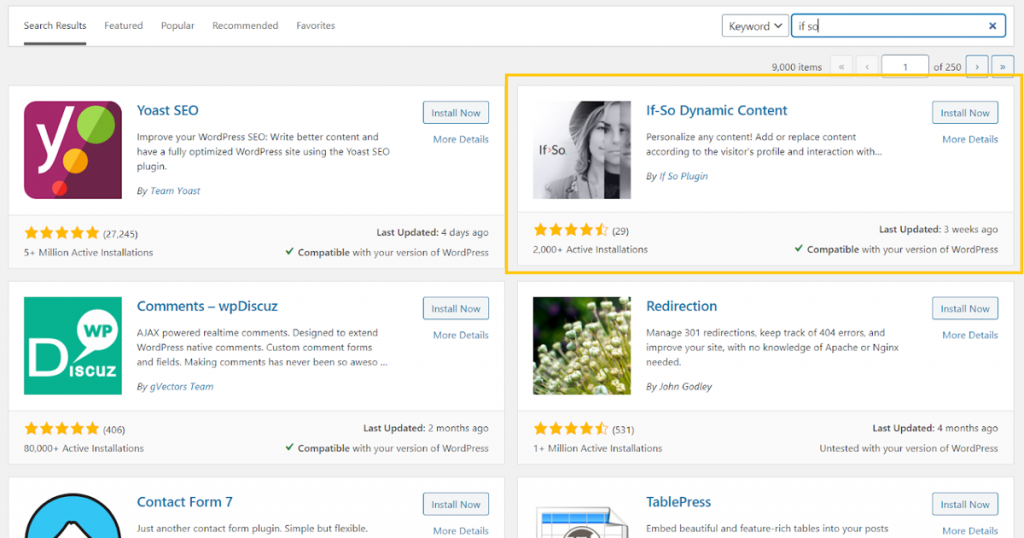
However, the majority of these plugins seem to be focused on limiting content access based on user roles and profiles. After an extensive search, I was finally able to find something with the functionality I needed: If-So Dynamic Content.
In essence, If-So Dynamic Content allows you to customize your site’s content based on how visitors interact with your site. You can set custom content according to a wide range of conditions too. Some of them include geolocation, device type, user IP, etc.
Probably my favorite part of the plugin is that it also supports WooCommerce. So, if you’re an online store owner, you surely want to try it out. Likewise, it integrates well with other powerful tools such as Google Ads and Facebook Ads. You’ll need a paid license to access these features though.
Okay, now, let me show you how to display custom content with this plugin.
How to Use the If-So Dynamic Content Plugin
The If-So Dynamic Content plugin creates custom content in WordPress using ‘triggers’. These triggers rely on preset conditions.
In essence, here are the four steps involved in creating personalized content with the plugin.
- Select a condition from a list.
- Assign the content to be displayed if the condition is met.
- Assign another item if the condition isn’t met. (This step is optional)
- Copy the shortcode and paste it on the corresponding web page.
Hence, once a site user loads that page, the content displayed will depend on whether the set condition is met or not.
Now, let’s see how that works in practice.
WordPress SEO Tutorial (From Beginner To Advanced Guide) – 2021
To use the plugin, you have to first install and activate it in the WordPress plugin repository.

- Save
Once the plugin is activated, a new tab is added to your WordPress dashboard. Here you can add a new trigger by clicking on Add New.

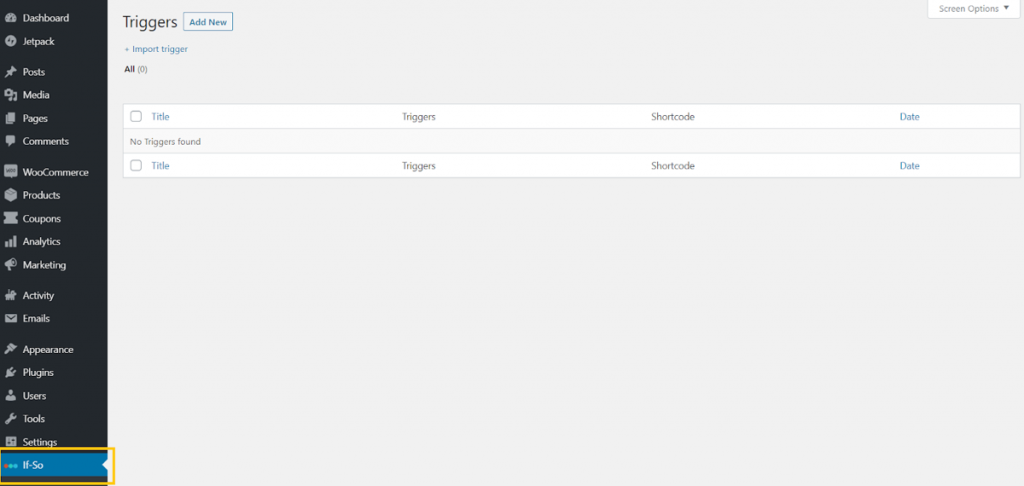
- Save
After creating a new trigger, you can add a title and select a condition from the available ones.

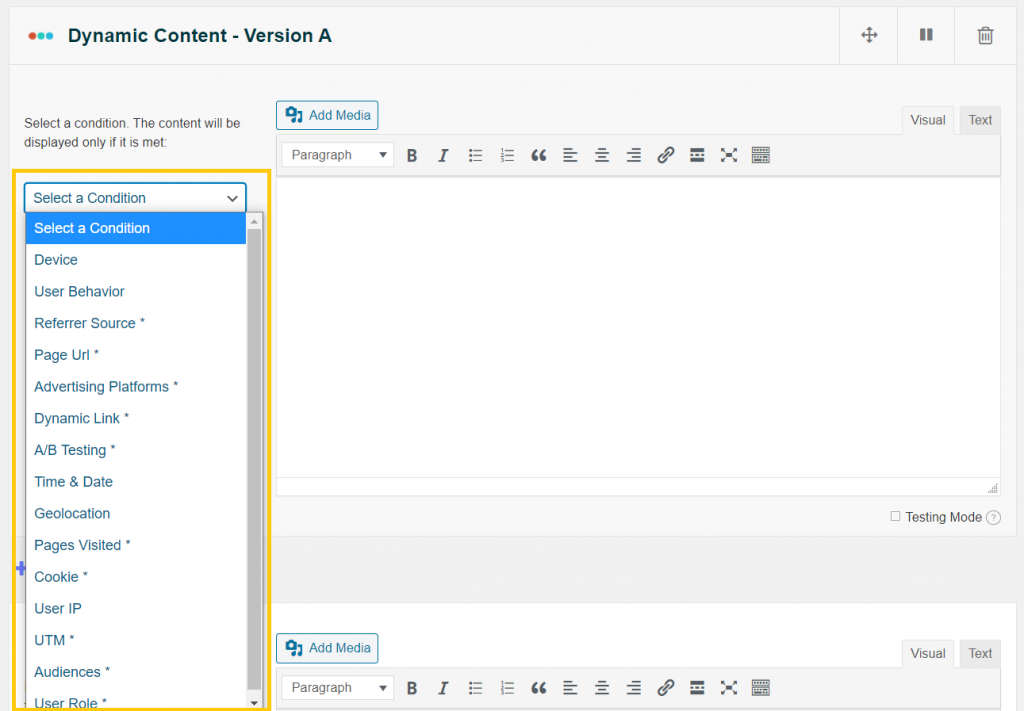
- Save
Now, you can create the content you want to display in the field on the right. Unfortunately, the plugin still uses the old Classic Editor. Hopefully, they’d update to Gutenberg in the near future. Similarly, you can create as many variations of the same site as you want.
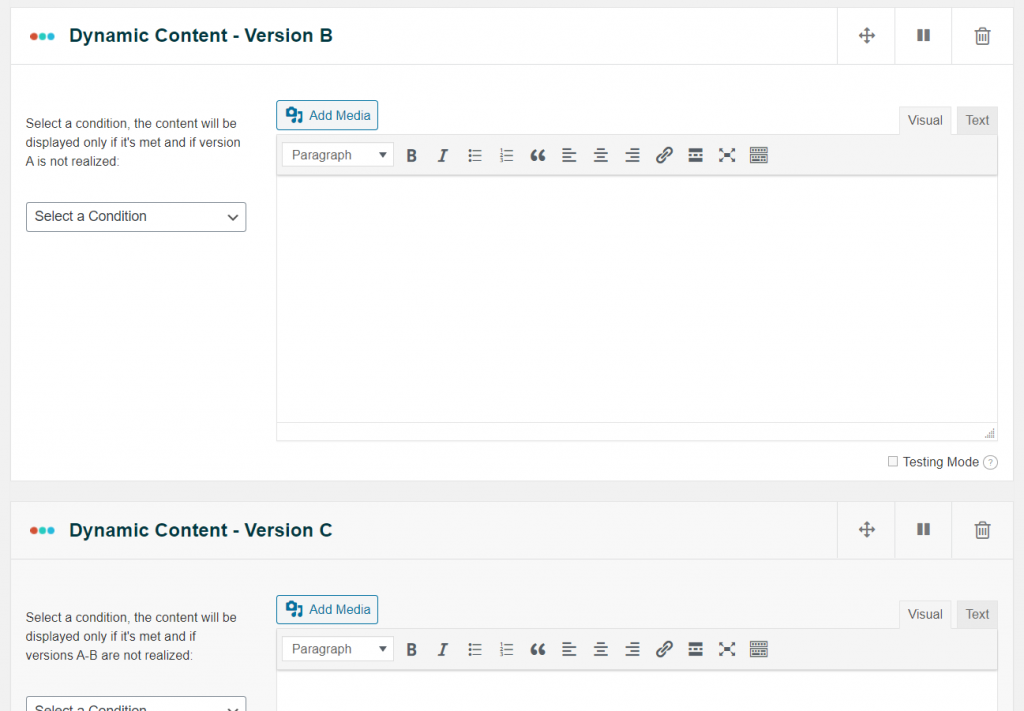
- Save
Once you’re done setting the conditions and creating your content variations, it’s time to get the needed shortcode. To do this, you need to first publish the trigger.

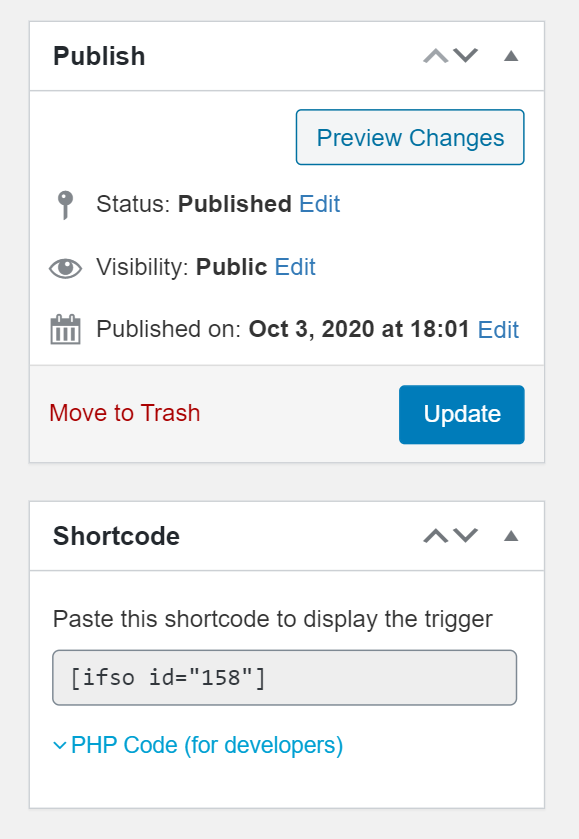
- Save
All done! You can now display custom content to your WordPress site visitors by simply pasting the shortcode on the page or post.
Method 3: Use a Conversion Optimization Tool
If you want to gain even more control over the content customization capabilities of your WordPress site, you may want to consider an optimization tool. One of my favorite conversion tools out there is OptinMonster.
The tool uses arguably the widest range of rules to display custom content on your site. If you’re looking for more user targeting functionality than what If-So has to offer, this may be the stuff for you. Also, because it’s more of a universal tool, it integrates well with other third-party apps.
The major downside to this method is that OptinMonster is a paid tool. You’ll need the Pro plan at least to gain access to all the targeting features. This will set you back $29/month when billed annually.
To get started, you need to first register an OptinMonster account. Once your account is set up, return to your WordPress dashboard and install the OptinMonster plugin.
Next, you need to navigate to the newly added OptinMonster tab and connect the account you just registered.

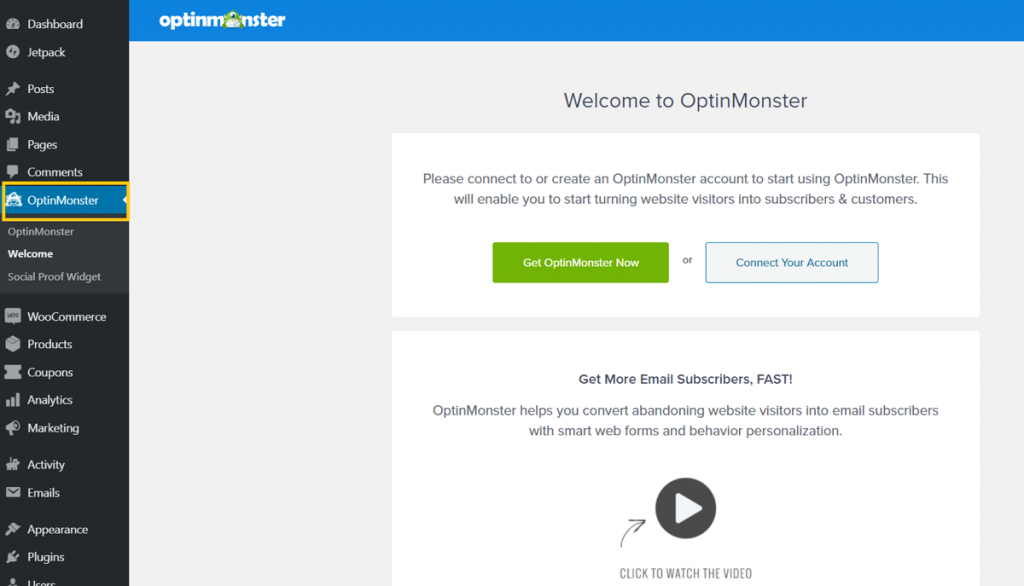
- Save
Click on Connect Your Account to do this. With your account connected, you now need to follow these steps to display custom content on your site.
Create a New Campaign and Design the Content You Want to Display
Now that you’re all set up, you need to create a new campaign. One of the reasons I like OptinMonster is the different campaign/content types available. In other words, you’re not limited to the usual WordPress post and page templates.

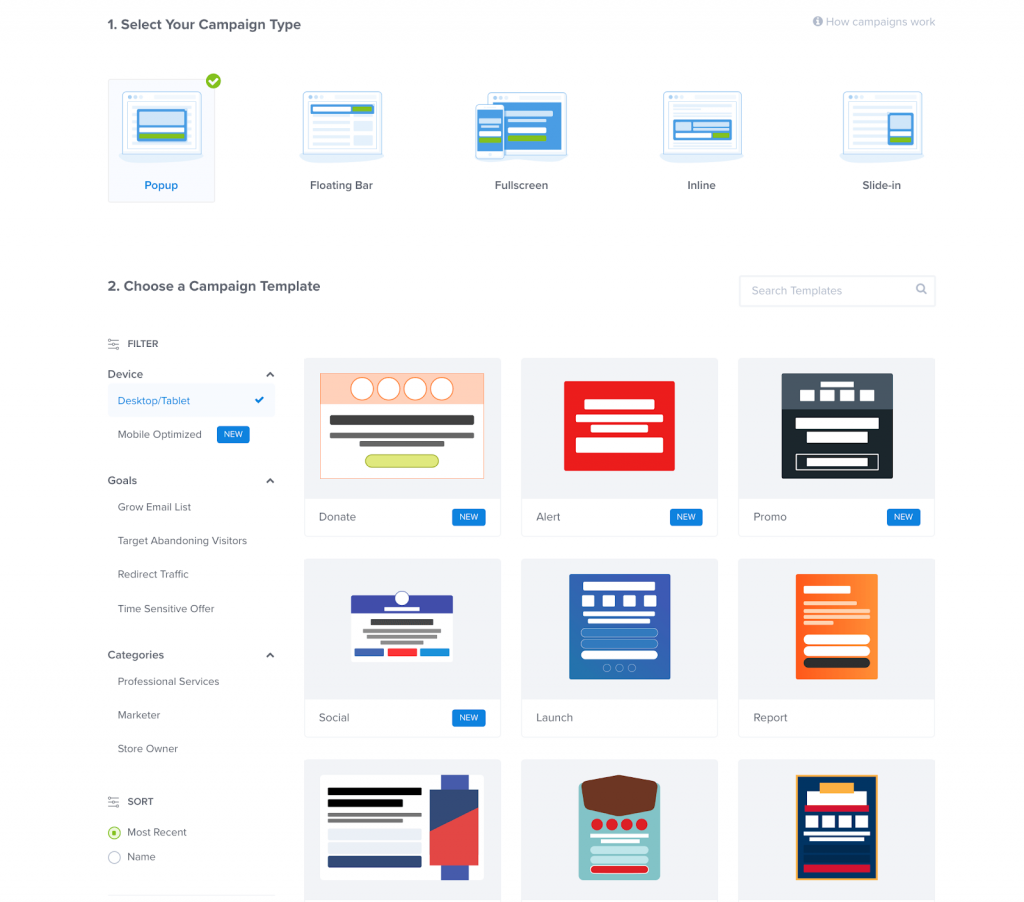
- Save
Your campaign can be a pop up, floating bar, fullscreen page, etc. Typically, if you want to display custom content within a page or post, you want to select the Inline campaign type. After choosing the campaign type, select the template that suits your needs. Bear in mind that the templates at your disposal depend on the campaign type you’ve chosen.
Next, enter the name of your new campaign and the site where you want the content to be displayed. You can connect multiple websites to your OptinMonster account.

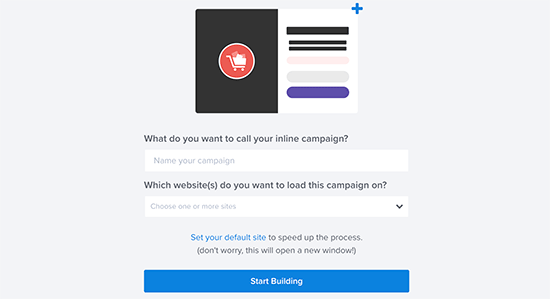
- Save
Now, click Start Building and the plugin will redirect you to the campaign builder.

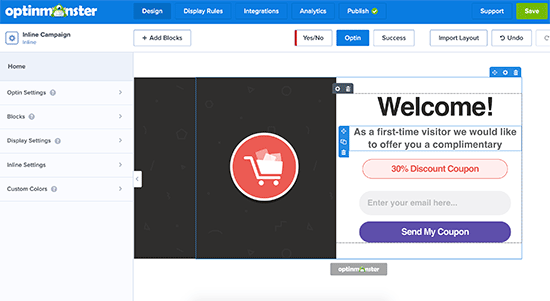
- Save
The interface is quite intuitive. It’s basically a drag and drop tool that relies on editing blocks to create content. The flexibility here is rather ample. You can add a coupon code, feature intelligent product recommendations, and integrate with popular email marketing services. Just about anything you want for most website types!
Set up Display Rules for Your Campaign
Now to probably the most important step in this entire procedure!
Here’s where you get to decide what triggers the custom content you want to display. And OptinMonster offers quite a bunch here! To define the display rules, you simply need to toggle to the next tab in the top menu bar.

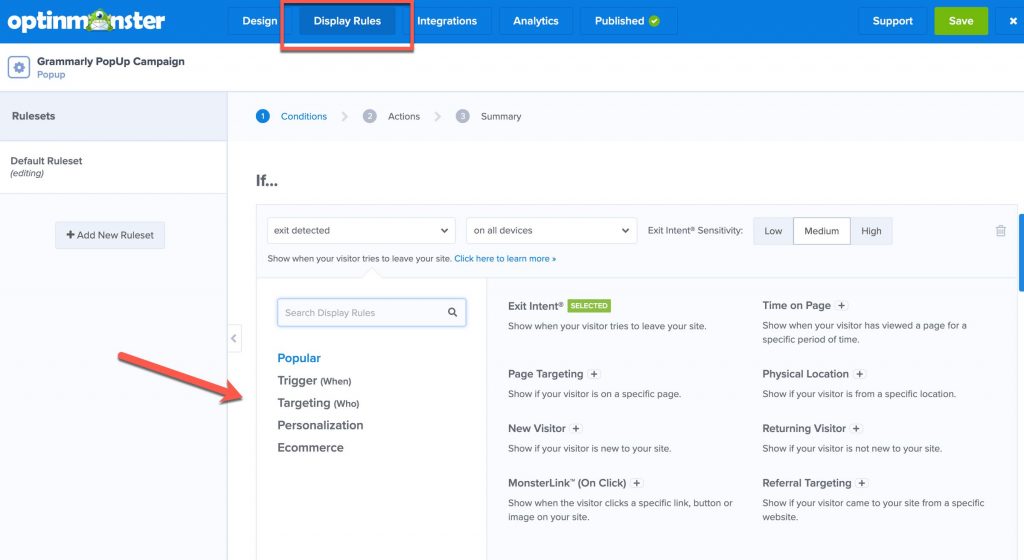
- Save
There are a whole lot of conditions to choose from. You can either set time-based triggers or target users based on certain criteria such as geolocation, browser cookies, landing page, etc. Likewise, you can customize content based on user behaviors such as the number of pages viewed or selected campaigns converted, etc.
Online store owners will find the fourth display rule category very helpful – Ecommerce. I believe at least one of these rules should cater to your content personalization needs.
Once you’ve set all the conditions for your campaign, click Next Step. On the next screen, you can choose your campaign view.

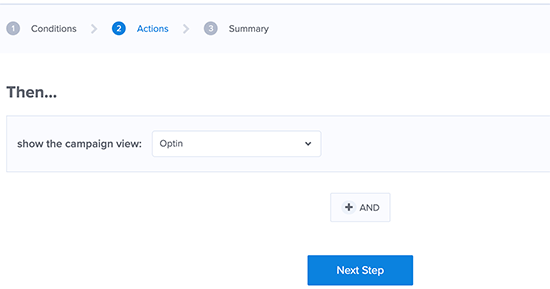
- Save
After this, you’ll see a summary of all the conditions you’ve set. Save your changes and get ready to publish your custom content.
Publish Your Custom Content
Finally, you can now publish your content on your site by navigating to the Publish tab. Toggle the Status button to Live and your campaign is up and running.

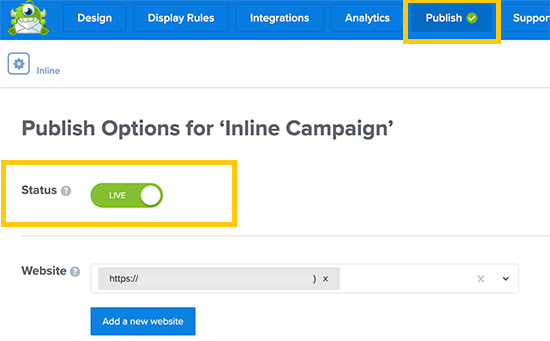
- Save
Next, navigate to OptinMonster >> Campaigns in your WordPress dashboard and simply click Go Live beneath the campaign you want to publish.

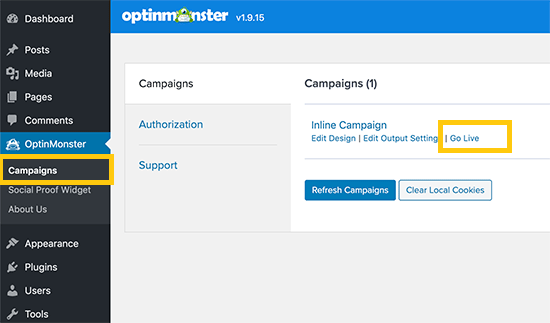
- Save
Now that your campaign is live, you can test it by going to your site and matching the set campaign conditions.
Conclusion: dynamic content & WordPress
It’s always an interesting idea to display custom content on your website. Personalized content can help you maximize your site’s engagement or simply regulate the content accessible by each user.
Here are some of the methods you can display custom content on your WordPress site:
- Password protect your pages or posts.
- Use the If-So Dynamic Content plugin.
- Use a conversion optimization tool like OptinMonster.
Let me know if this article helped you to add custom content to your WordPress website. If you encountered any problem in the process, kindly share them in the comments section below!
Subscribe on YouTube

- Save
Sharing is caring ️
- More
WordPress.com vs WordPress.org: What’s the Difference? Which Should You Use?